


Why Wall-Mount Your All-in-One PC?
1️⃣ Maximize Limited Space
Cluttered desks waste precious room, especially in compact homes or tight workspaces. Wall-mounting instantly frees up your desktop, making even small areas feel spacious and adaptable.
2️⃣ Upgrade Comfort & Aesthetics
Fixed desk setups strain your neck during prolonged use, while tangled cables ruin cleanliness. A wall-mounted bracket allows ergonomic tilt/swivel adjustments, paired with cable management for a sleek, pain-free experience.
3️⃣ Eliminate Safety Risks
Desk-bound devices can topple over, tempt pets/kids, or become theft targets in public spaces. Wall-mounting secures your PC flush against the wall, with load-bearing designs far exceeding the device’s weight—ensuring total stability.
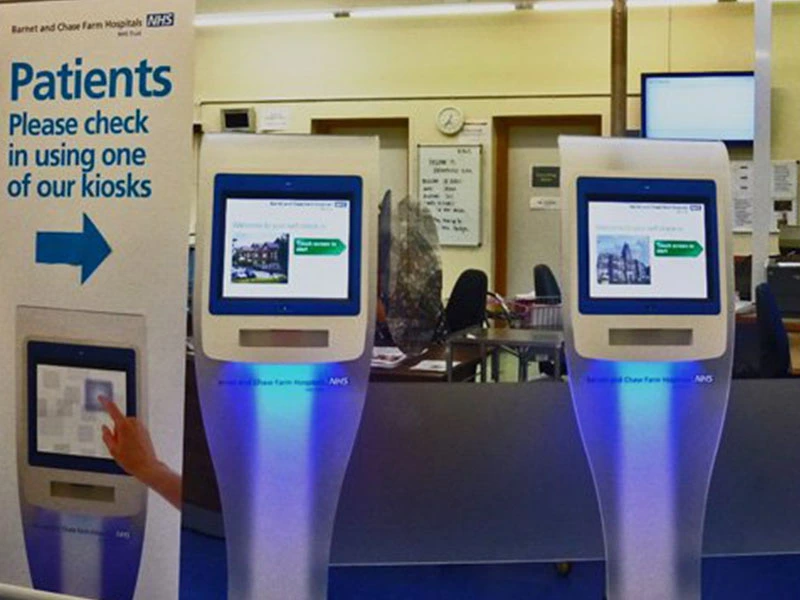
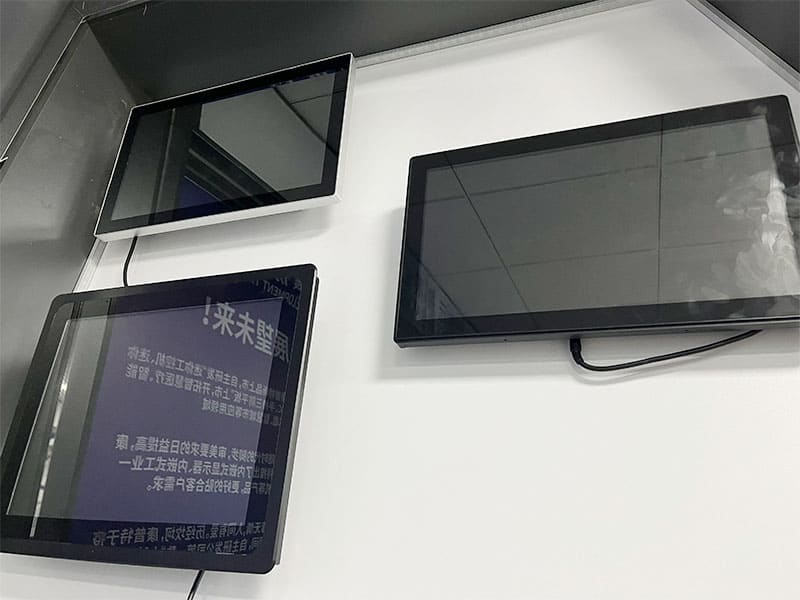
Whether for a minimalist home office, a commercial display, or an efficient workspace, wall-mounting solves the core trifecta of problems: space waste, poor ergonomics, and security concerns—delivering a smarter, safer, and sleeker upgrade.
Pre-Installation Preparation for All-in-One PC Wall Mounting
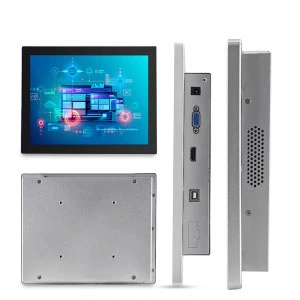
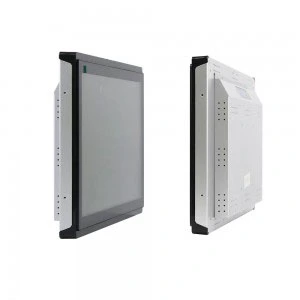
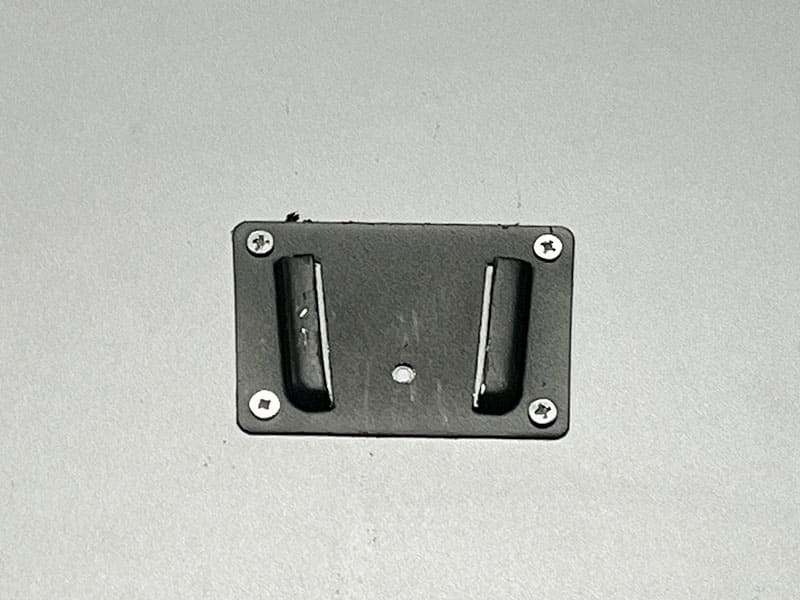
1. Check VESA Compatibility of the All-in-One PC
Inspect the back of the all-in-one PC for four screw holes arranged in a rectangular pattern.
Common VESA standard hole patterns: 75×75mm, 100×100mm, 200×200mm, etc.
Measure the hole spacing: Center-to-center distance horizontally and vertically.
2. Verify the All-in-One PC’s Weight
Refer to the product manual or official website specifications.
Ensure the selected wall mount’s weight capacity exceeds the PC’s weight.
3. Gather Necessary Tools
Power drill (hammer drill recommended for concrete walls)
Level
Measuring tape
Pencil
Screwdriver set
Wall anchors (usually included with the mount)
Choosing the Right Wall Mount Bracket
1.Bracket Type Selection
Fixed Mount: Cost-effective but offers no angle adjustment
Tilt Mount: Allows vertical tilt adjustment (±15°) for better viewing angles
Full-Motion (Articulating) Mount: Provides rotation, tilt, and height adjustment (most flexible but more expensive)
2.Weight Capacity
Ensure the bracket’s maximum load capacity exceeds your all-in-one PC’s weight by at least 20%
3.VESA Compatibility
The bracket must support your all-in-one PC’s VESA hole pattern (e.g., 75×75mm, 100×100mm)
Wall Mounting Procedure
1. Determine the Mounting Location
Recommended height: The center of the screen should align with the user’s eye level when seated.
Consider power outlet accessibility and cable management.
Avoid wall-mounted wiring and plumbing (use a stud finder or detector if necessary).
2. Mark Drilling Points
Use the mounting template or measure directly.
Ensure markings are level using a spirit level.
Recommended: Work with a partner—one holds the bracket while the other marks.
3. Drill Holes
Select the appropriate drill bit based on wall material:
Concrete walls: Use a hammer drill and expansion anchors.
Drywall: Locate studs or use specialized drywall anchors.
Brick walls: Standard drill bit with plastic wall plugs.
Drill holes slightly deeper than the length of the expansion bolts.
4. Secure the Mounting Bracket
Insert expansion bolts.
Tighten with a screwdriver or wrench.
Recheck for level alignment.
wall mount all in one pc Steps
1.Attach the Mounting Bracket
Align the bracket with the VESA mounting holes on the back of the all-in-one PC.
Secure it using the provided screws (avoid over-tightening).
Ensure the bracket sits flush against the back of the PC.
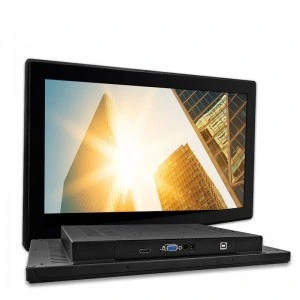
2.Connect Cables
It’s recommended to connect all necessary cables (power, HDMI, etc.) before mounting.
Consider using a cable management system for a cleaner setup.
3.Mount the All-in-One PC
For safety, have two people assist with this step.
Align the bracket on the PC with the wall-mounted hooks.
Gently lower the PC until it clicks into place.
Verify that the locking mechanism is engaged.
Post-Installation Inspection
1.Stability Test
Gently attempt to move the all-in-one PC to check for any wobbling
Ensure all screws are securely tightened
2.Adjustment Test (if applicable)
If using an adjustable mount, test movement in all directions for smooth operation
Verify that the locking mechanism functions properly
3.Cable Management
Use zip ties or cable channels to organize wires neatly
Ensure cables do not pull taut or interfere with the mount’s movement
Safety Precautions
If you’re unsure about the installation, it’s recommended to consult a professional.
Regularly inspect the bracket’s tightness (every 3-6 months).
Do not allow children to hang on or swing from the mounted all-in-one PC.
In earthquake-prone areas, additional safety reinforcements are advised.
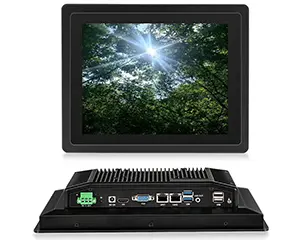
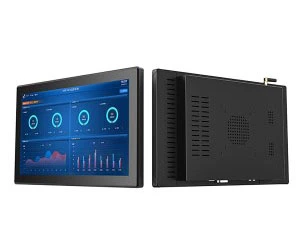
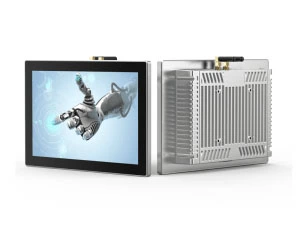
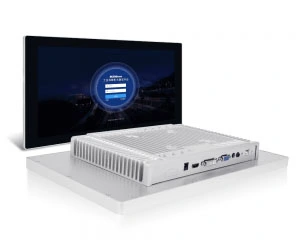
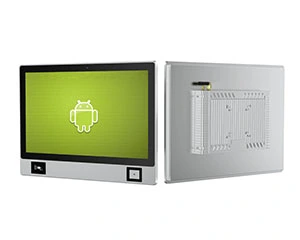
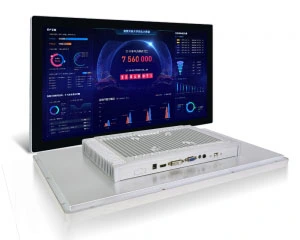
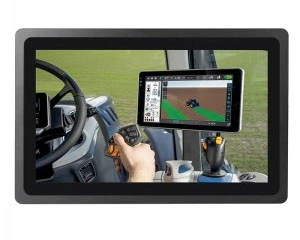
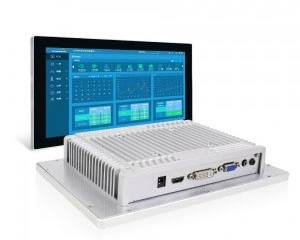
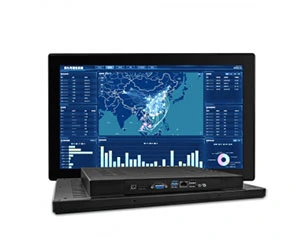
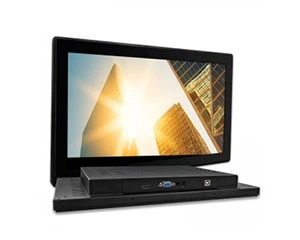
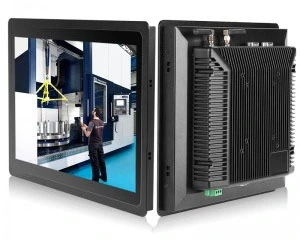
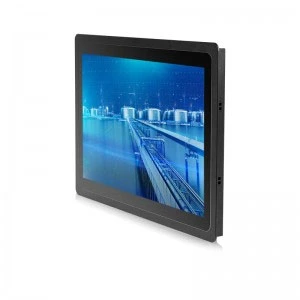
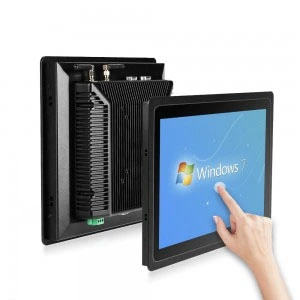
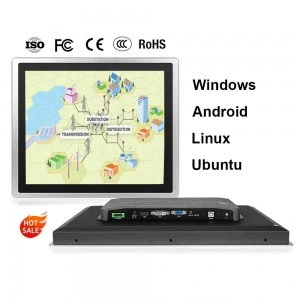
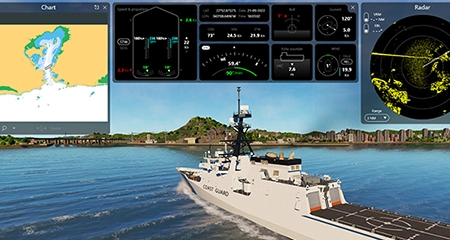
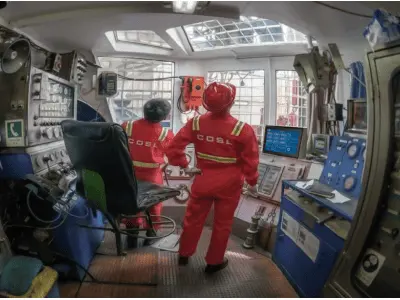
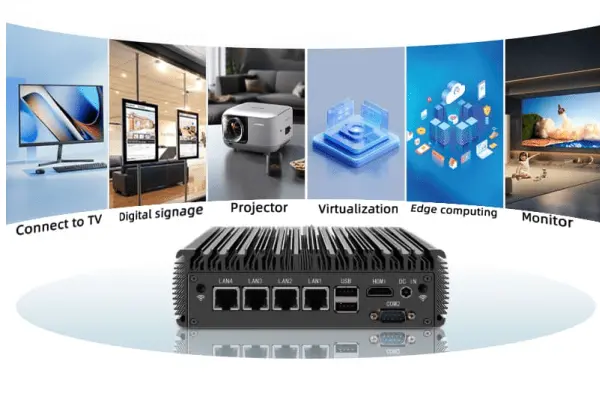
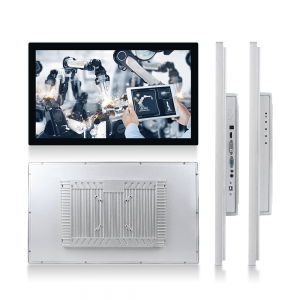
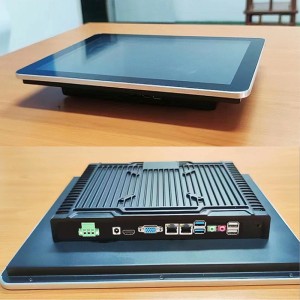
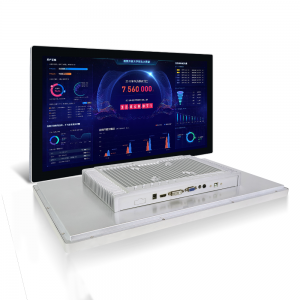
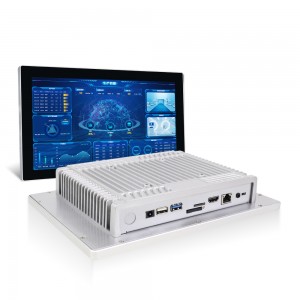
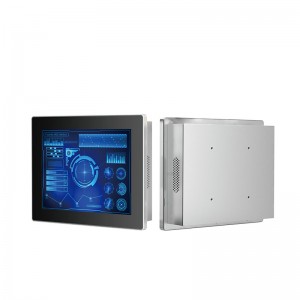
If you’re looking for a rugged, wall-mount all-in-one PC solution designed specifically for industrial environments, COMPT‘s wall mount all in one pc is the ideal choice.
Built with industrial-grade materials and reinforced construction, it withstands harsh conditions in factory floors, warehouses, and logistics centers—featuring dustproof, shock-resistant, and interference-proof capabilities. With VESA standard mounting support, installation is quick and hassle-free.
Whether for production line monitoring, equipment control, or data collection, this system delivers stable and reliable performance.
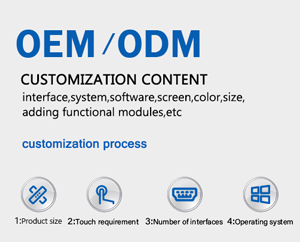
Contact us today to explore customized wall-mount all-in-one solutions tailored to your industrial needs—enhancing both productivity and system dependability!

Penny
Web Content Writer
4 years of experience
This article is edited by Penny, the website content writer of COMPT, who has 4 years working experience in the industrial PCs industry and often discusses with colleagues in R&D, marketing and production departments about the professional knowledge and application of industrial controllers, and has a deep understanding of the industry and products.
Please feel free to contact me to discuss more about industrial controllers. sales@gdcompt.com
Related Recommended Industrial Computers
-
15.6 inch Wall Mount Touchscreen Industrial Dis...
-

18.5 inch lcd hdmi touchscreen wall mount capac...
-
21.5 ” I5-6300u wall mount All In One Pan...
-
21.5 ” Wall mounted industrial touch scre...
-
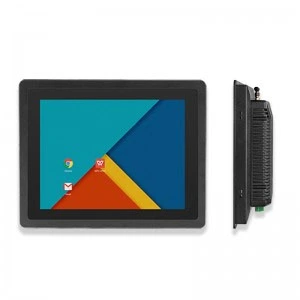
7″ android wall mount touch screen panel ...
-
8″ Industrial Computer Monitors Wall Moun...
-
Optional embedded, desktop, wall mounted, canti...


