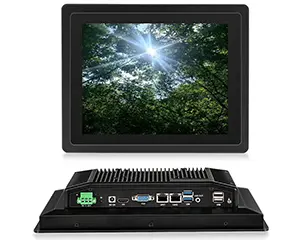

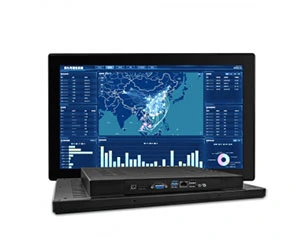
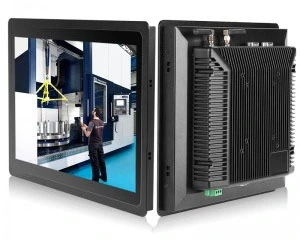
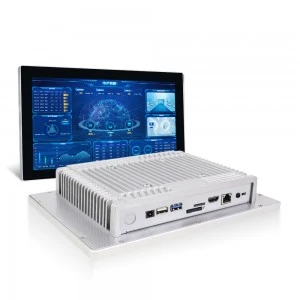


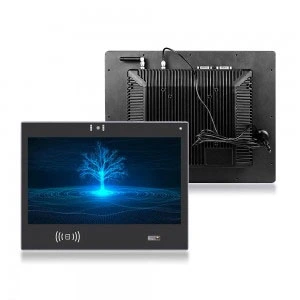


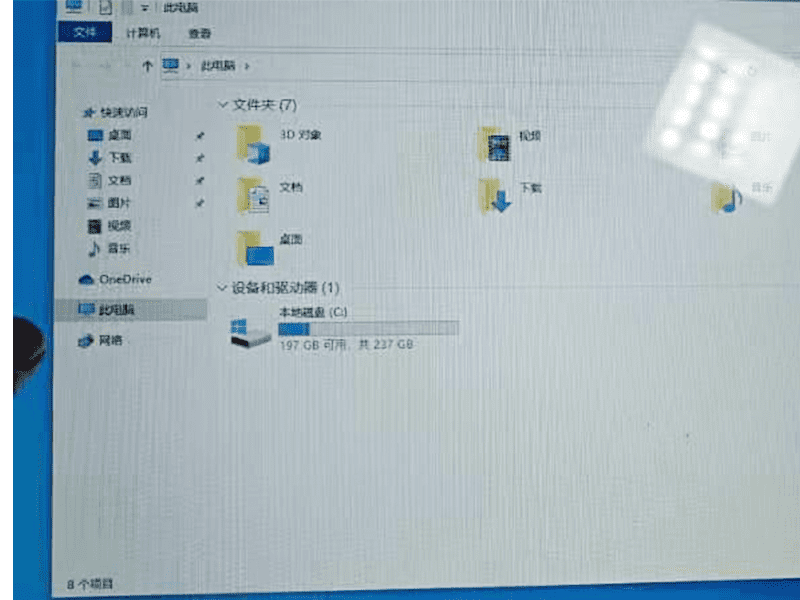
After opening the industrial panel mount pc and viewing the hard drive partitions through the ‘My Computer’ or ‘This Computer’ interface, users will find that the mechanicless 1TB hard drive that should have been there is missing, leaving only the C drive. This usually means that the partition information of the hard disc is not displayed correctly, or the hard disc itself is not recognised by the system.
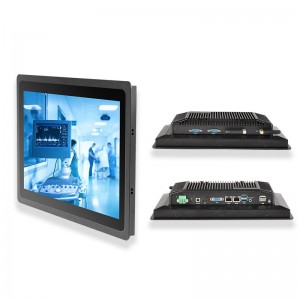
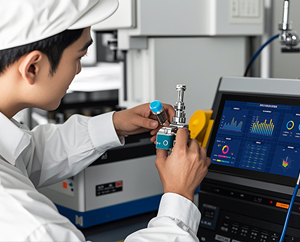
industrial panel mount pc no hard drive solution
Idea: In Disk Management - select the hard drive to format and it will be displayed properly.
1. Create a new simple volume
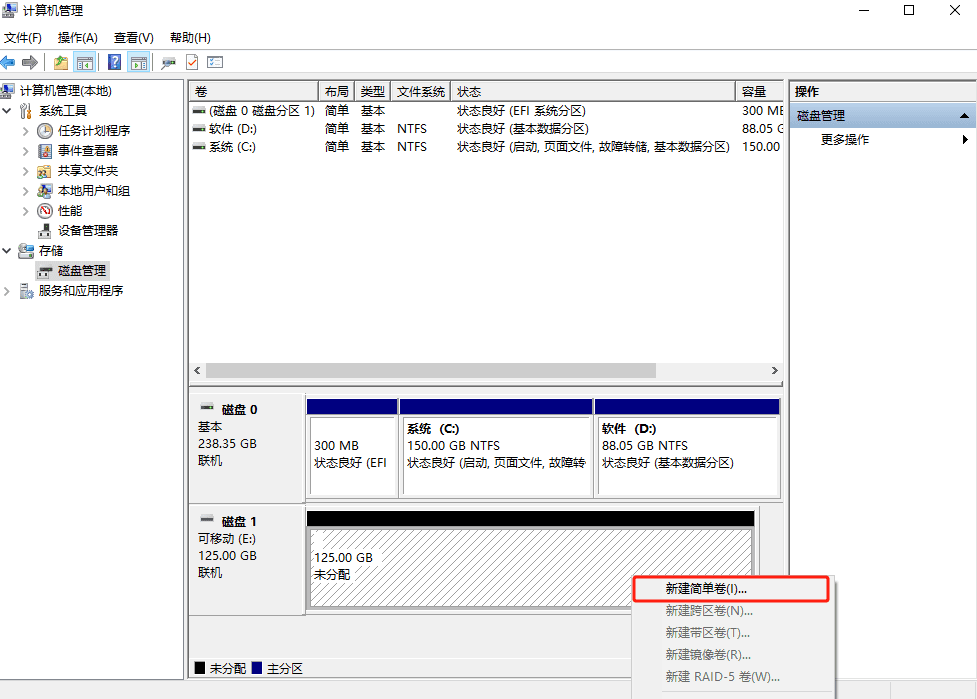
Firstly, find ‘My Computer’ or ‘This Computer’ icon on the desktop of the industrial panel mount pc, right click on it and select ‘Manage’ option. option. Once you are in the computer management interface, find the ‘Disk Management’ option in the left menu and click on it. In the Disk Management interface, you will see all the disks in your computer. Find the hard drive you need to work on, right-click on the free part of the hard drive, and then select ‘New Simple Volume’ option.
2. Enter the New Simple Volume Wizard
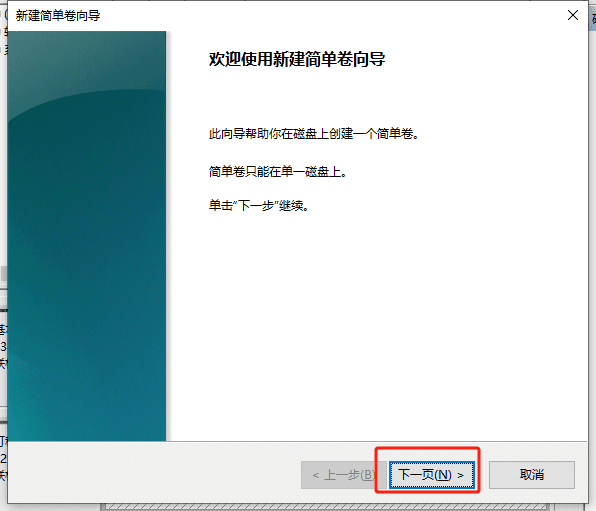
After selecting ‘New Simple Volume’ in the industrial panel mount pc, the ‘New Simple Volume Wizard’ window will pop up. In this window, click ‘Next’ to continue.
3. Specify the Volume Size Settings
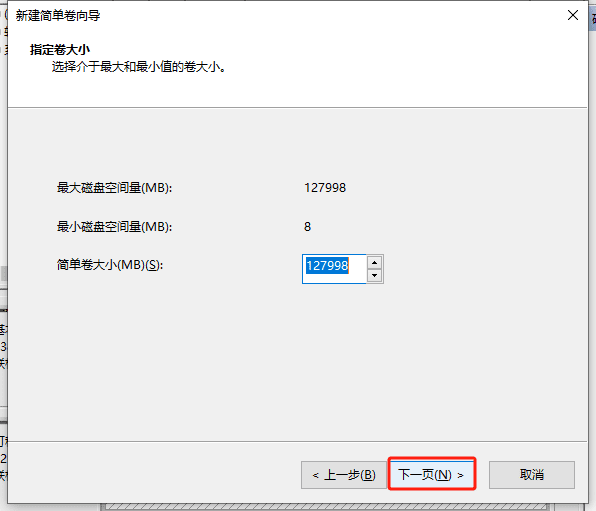
In the next step, you need to specify the volume size. On the ‘Simple Volume Size’ screen, change the default value to 127998 (in MB). After confirming that there are no errors, click ‘Next’ to continue.
4. Assigning Path F
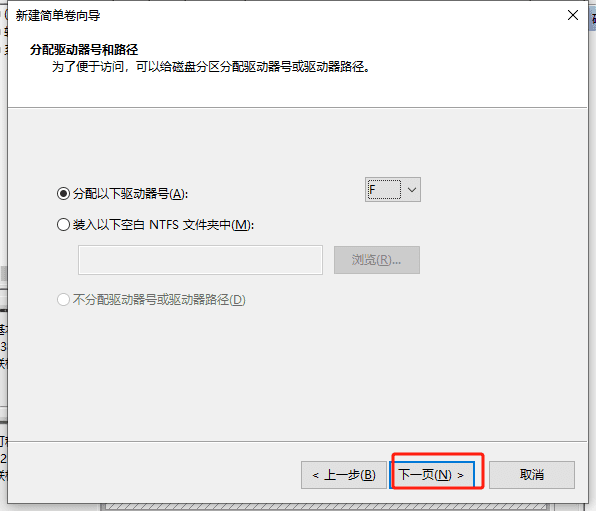
On the ‘Assign drive letter and path’ page, you need to select a drive letter for the newly created volume. Select the letter ‘F’ in the drop-down menu to make sure there are no conflicts with other volumes. Then click Next.
5. Tick ‘Perform a quick format’.
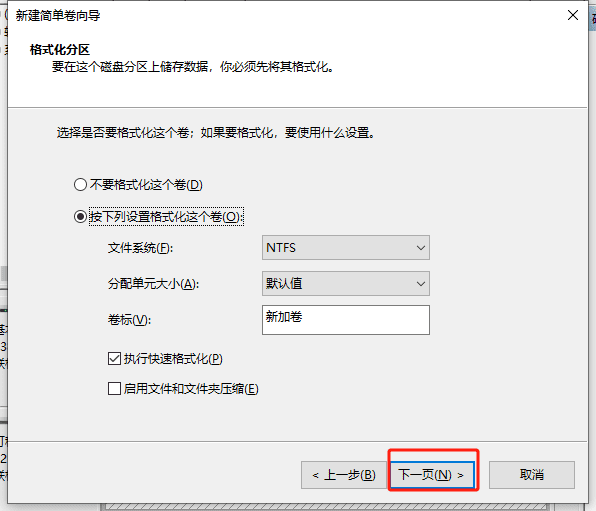
On the Format Partition page, tick the ‘Format this volume (O) with the following settings’ option and ensure that ‘Perform a quick format’ is selected. This will quickly format the volume and make it ready for data storage. After selecting the formatting method, click on ‘Next’.
6. When finished, continue to ‘Next’.
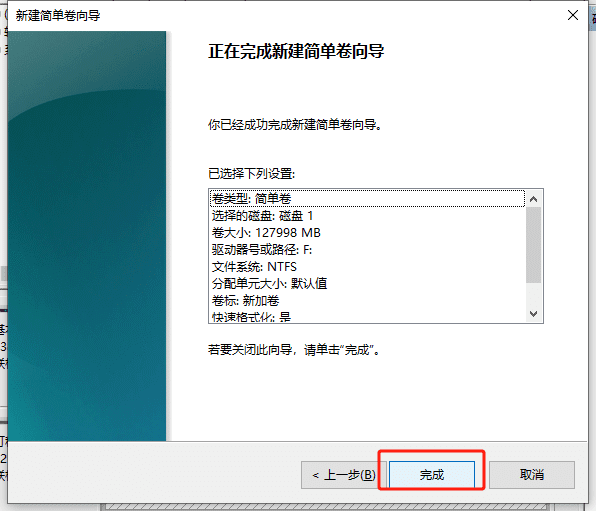
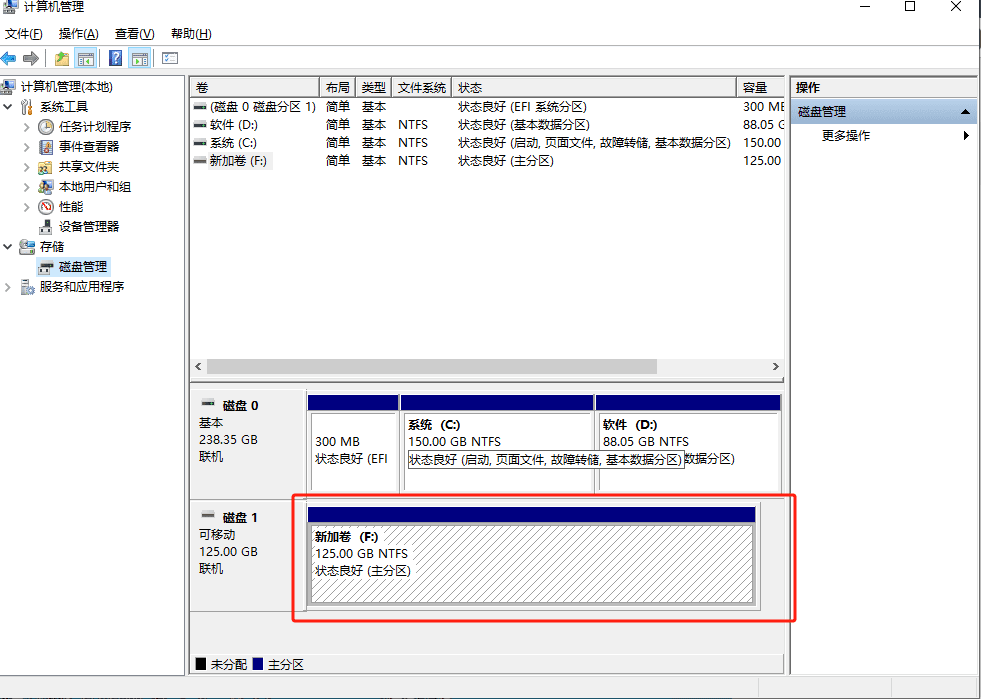
In the last step, make sure all the settings are correct and click on the ‘Finish’ button. At this point, the system will start creating and formatting the new volume. Once the operation is complete, your new volume will appear in My Computer and will be displayed as F drive.
7. Solution Completion

Penny
Web Content Writer
4 years of experience
This article is edited by Penny, the website content writer of COMPT, who has 4 years working experience in the industrial PCs industry and often discusses with colleagues in R&D, marketing and production departments about the professional knowledge and application of industrial controllers, and has a deep understanding of the industry and products.
Please feel free to contact me to discuss more about industrial controllers. sales@gdcompt.com